The most difficult task a Cnc newbie has to overcome is creating a G code program.
There are quite a few articles on this website that will help you create your own programs but nothing beats getting your machine up and running on a project right away.
G Code Files
I have created a simple G code example for you to download to test out your Cnc mill and practice your workflow for clamping the stock and setting up your cnc machine.
There are a few free G code files online, but they always lack any information about tooling, datum positions or even the size of material you need.
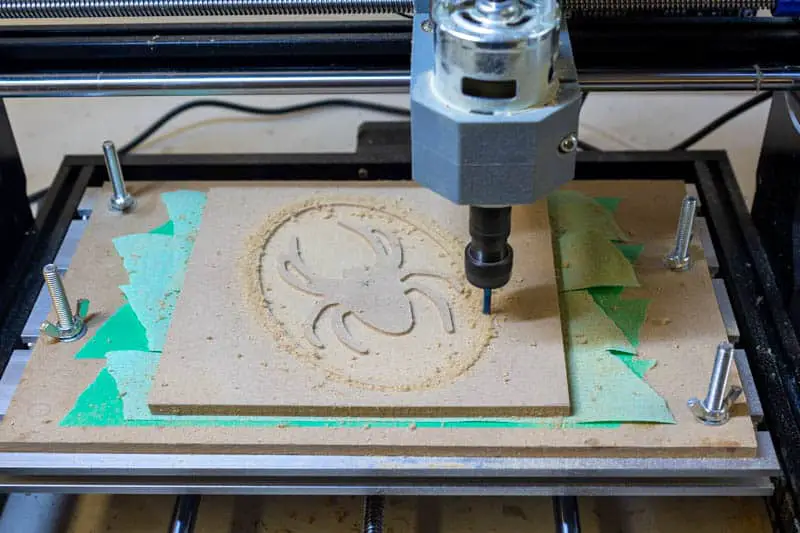
So I took the spider program I used in my universal G code sender review and tweaked it to make it available to anyone as a free G code file download.


What is a Cnc WorkFlow?
To make this as beginner proof as possible, I have also created a ‘7 Step Beginners Guide to Cnc’ pdf download. This is a quick reference overview of the processes and workflow needed to create programs and to run a hobby cnc machine.
The guide is full of hyperlinks to articles on Cnc Philosophy that explain each important step in more detail.
Get The 7 Step Guide & G Code Files
What Will You Learn?
The aim is for you to get familiar with the process of running your Cnc machine successfully and getting repeatable results. The programs will give you a benchline of what your machine is capable of so you know what to copy or not to copy when you are creating your own programs.
I would encourage you to play with the speeds and feeds, especially if you try the programs on different materials. You will be able to find out what works and what does not work with your machine.
Will the G Code Files Run On My Machine?
The G code was programmed with the goal of being able to run on a 3018 cnc engraving machine. These machines are the ‘lowest common denominator’, meaning, if the programs can be used on this machine, they can be used on any machine.
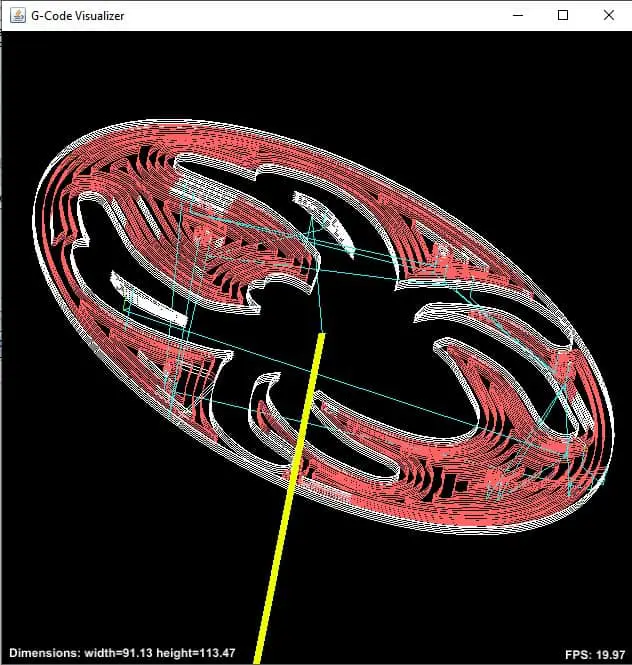
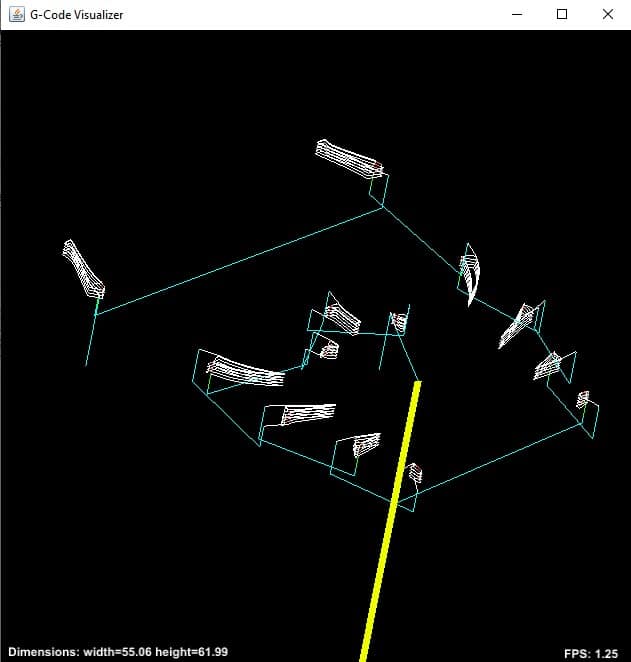
The 3018 is a Grbl based machine but they also loaded with no errors on a Mach3 controlled machine and the toolpaths looked as they should in the Mach3 toolpath window.
Depth of Cut
To work on the 3018 cnc the depth of cut for each pass was kept shallow and the feedrate used was quite slow. If your machine is of better quality than a 3018, then the feedrate can be easily increased using the ‘replace’ function available in your text editor of choice, e.g. notepad, wordpad etc.
Spindle Speed
The spindle speed, (S1000) near the beginning of the program, can be changed to suit the machine you are running. The 3018 software is a little unusual, it has a maximum spindle speed of 10,000 RPM, but is controlled by using a percentage scale of 10 to 1000. 1000 being 100% RPM (maximum) and 10 being 1% RPM (minimum). Therefore setting the spindle speed as S1000 will tell the controller on the 3018 to run at 10,000RPM.
What Tooling is Needed?
The tools I used were the Genimitsu 1/8” end mill and the 1/16” end mill. They are from the set shown below.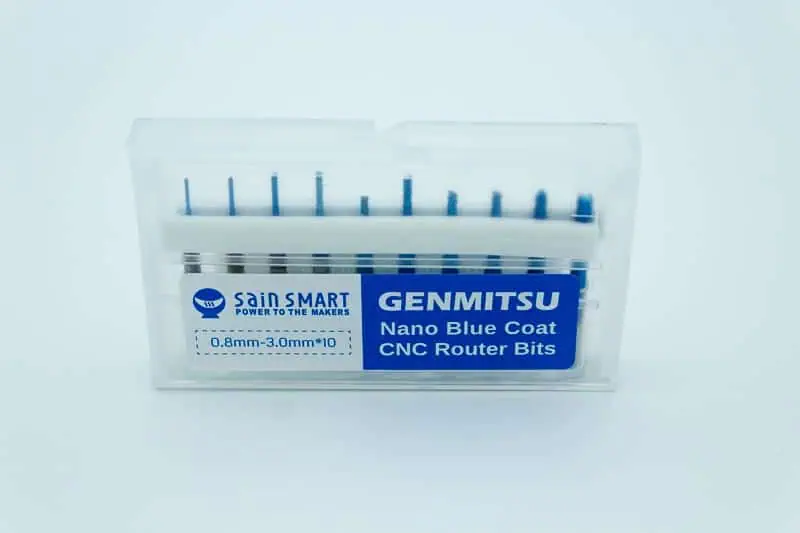
These are for wood only, which is pretty much the only material the 3018 is capable of machining.
Any similar diameter size tools can be used to get the same result.
Just use what you have on hand as long as they are suitable for the material you are using. You can also use 3mm and 1.5mm if you own metric end mills.
The Genimitsu cutters I used are labelled as metric on the box, but when you measure them there is a mixture of both imperial and metric in the set!
What Stock material did I use?
For the initial test run of the G code, I used MDF. It is very soft, so ideal for using with the 3018 Cnc. The size of the stock was approx 5” X 5.5” square by 6mm thick. The 5.5” dimension needs to be orientated along the Y axis.
I programmed the outer profile to go deep enough (-.240”) to cut it out. If you don’t want to cut it out, just use thicker material or set your Z axis zero above the part.
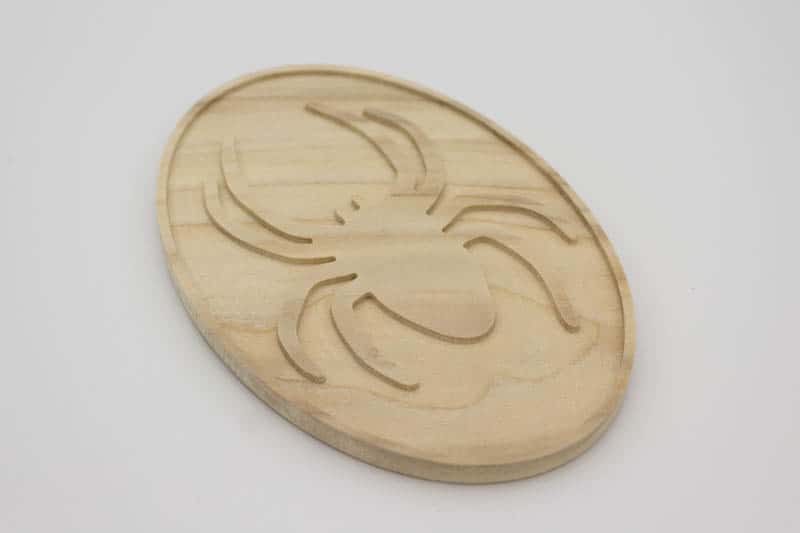
For the final part I switched to some finished wood stock from the local hardware store and was pleased to see my 3018 handled it just as easily as the MDF.
Full step by step instructions are provided with the G Code along with setup sheets.