This article is about feeds and speeds for cnc machines, specifically for cnc hobbyists with small less capable consumer grade equipment.
What are Feeds and Speeds?
Feed refers to the rate of movement of the axes of your machine, it is programmed in inches per minute (IPM) or millimeters per minute for metric.
Speed refers to the RPM of the machine spindle, i.e. the rotational speed of the tool on a mill or workpiece for a lathe.
Establishing the rpm and feed rate for end mills and drills can seem like sorcery to many people, especially hobby machinists.
There will always be variations between different machines, different setups, different materials, different tools, the list goes on.
How to calculate feeds and speeds
What I can do is show a formula that will give you a starting point from which you can adjust to suit your machine and the type of material you are milling.
Feeds and speeds formula
First is the formula to find the RPM,
RPM = SFM* X 3.82 / diameter of the tool (* SFM = Surface Feet per Minute)
You can also use the RPM calculator below
Next, the formula for the feedrate uses the RPM from the previous calculation,
Feedrate = RPM X Feed per tooth X Number of teeth
or
Feedrate = RPM X Feed per rev
You can also use feed calculator below.
To use these simple formulas, you need to find out what ‘SFM’ (surface feet / min) that your milling tool is designed to operate at with the particular metal you are milling.
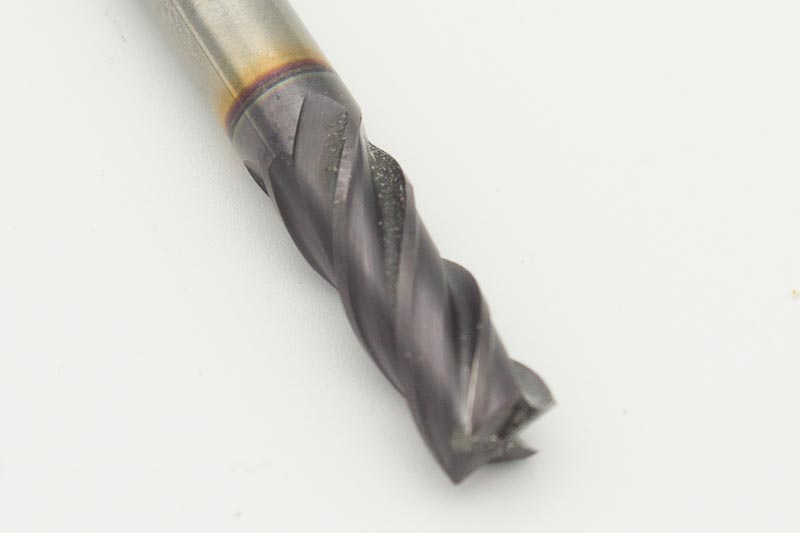
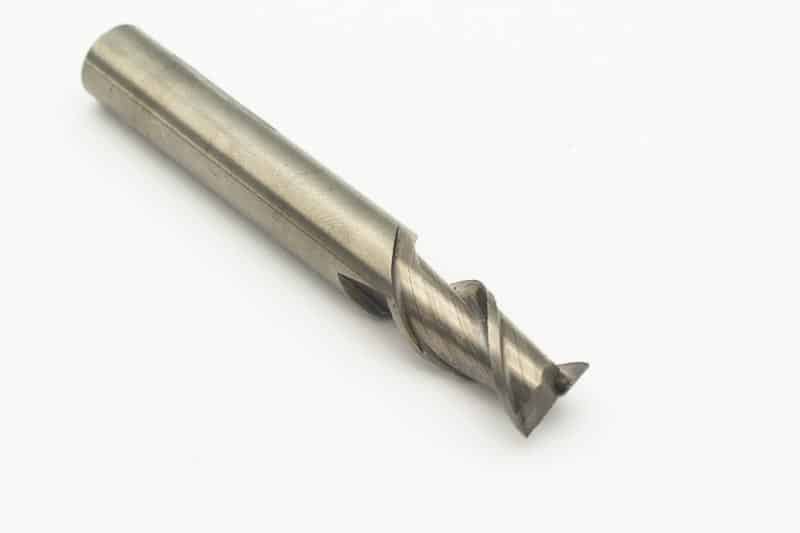
I am going to recommend that you only use carbide endmills when machining metals, they are inexpensive enough and make the task a lot easier than using HSS (high speed steel) endmills.
A safe starting point for a good quality carbide endmill machining a typical ‘soft’ alloy steel would be approximately 250 SFM. (a HSS endmill will be considerably slower, around 120)
Using 250 SFM in the formula above, with a .25” (¼”) dia endmill results in an RPM of 3,820.
To calculate the feedrate we need to find out the feed per tooth or the feed per rev. Again a good starting point using a good quality endmill would be .002” per tooth. So if we had a 4 flute cutter this would be .008” per REV, (4 X .002”).
Now you can use the second formula using the rpm we just calculated,
3,820rpm X .002” X 4 flutes = 30.56 inches/minute feedrate.
So now we have a good starting point of 3,820 RPM with a feedrate of 30 inches/min.
Next we can consider machining some aluminum stock. A SFM, on a benchtop mill or router, of 500 would be a safe starting point.
Using the same end mill as in the previous calculation you get an RPM of 7,640 which, as you would expect, is double the previous result.
Again when you calculate the feedrate it is double the previous result at 61 in/min.
Hobby mill limitations
Now we have to consider the type of machine you are running. Most hobby machines have a limited RPM range and limited feedrate capabilities. To get around this we will need to make adjustments.
For example a router usually has a very high RPM, 12,000 and up, so to enable a higher RPM you can use a smaller dia cutter.
Using a ⅛” (.125”) diameter cutter instead of a ¼” (.25”) cutter the required RPM for aluminum example will be:-
500SFM X 3.82 / .125 = 15,280rpm.
This would be in the range of a typical cnc router.
The next issue would be the feedrate. Using an RPM of 15,280 would give a feedrate of 122 in/min. This is too fast a feedrate for many hobby machines. So what you can do is use an endmill with only 2 flutes. This will half the feedrate down to 61 in/min.
Variable speed spindle?
Using the calculations above is ok if you have a variable speed spindle, but what if you don’t? My Taig benchtop cnc mill has a series of pulleys to control its spindle speed.

The RPM speeds available are:-
- 1100rpm
- 1900rpm
- 2900rpm
- 4300rpm
- 6500rpm
- 10500rpm
Using the calculation of 3820rpm and 30ipm, for my machine I would set it to the 2900rpm pulley and adjust the feedrate to suit the slower rpm.
2900 X .002” X 4flutes = 23.2ipm,
so I would set the feedrate at 23 inches/min in the G-code program.
You will find that setting the speeds and feeds slower usually helps tool life and can save a lot of frustration.
I have found that milling aluminum at speeds and feeds you would expect to use on a soft alloy steel on an industrial machine will produce effortless results.
Speeds and Feeds for Drilling
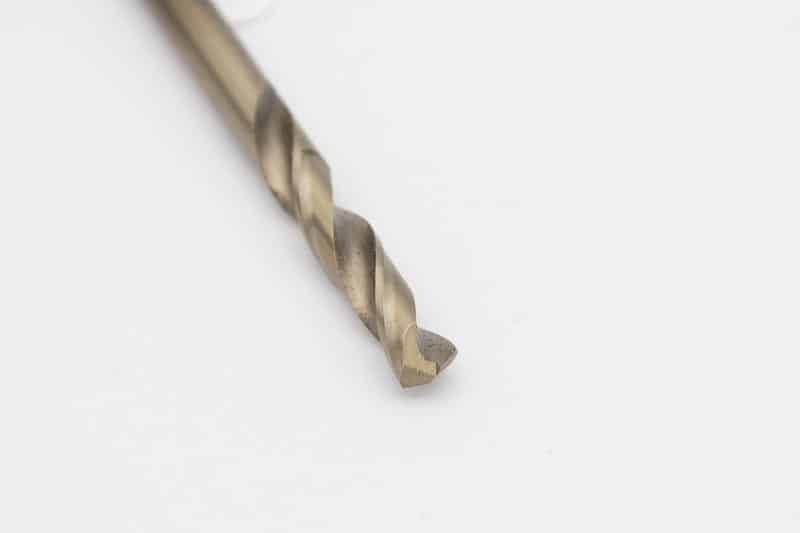
Although I suggested only using carbide for your endmills, high speed steel (HSS) drill bits will work perfectly fine.
Just make sure to check they are sharp by looking at the cutting edges with a loupe or magnifier.
It is really easy to break a drill if it is blunt or damaged.
A good starting point for drilling steel with a HSS drill bit would be 75 SFM with a feedrate of .001/tooth or .002” per rev.
For aluminum I would use 130 SFM and keep the feedrate at .002” per rev, at least initially.
Using a ⅛” (.125”) drill as an example:-
75 X 3.82 / .125 = 2,292rpm
2292 x .002” = 4.5 ipm
It is important to use a pecking drill cycle (G83) and use a lubricant. If your machine isn’t equipped with a coolant system you can use WD40. Just spray it occasionally as it is drilling and don’t let it get dry.

The depth of the peck is not too critical until you start using small diameter drills.
When drilling with drills .125” diameter and smaller I always use a very shallow peck depth.
To give you an example, when drilling with a 1/16” drill or smaller I will set the peck depth at .01” or less and reduce the feedrate to about .0005″/rev.
It will take a while to drill a hole but it will drill it and come out of the hole in one piece. Again use a lubricant and always check the cutting edges on the drill look good before you use it.
Troubleshooting Feeds and Speeds
Using the calculations I have given above should be a good starting point for getting the ideal speeds and feeds for your programs. But there are hundreds of variations that can affect the results you are getting.
Some of the problems you may encounter:-
- Vibration
- Spindle stalling
- Poor surface finish
- Tools breaking
Vibration
This will probably be the most common problem which may be caused by:-
- Incorrect spindle speed, typically too fast
- Poorly clamped workpiece
- Machine lacking rigidity (budget machine)
- Poor quality tooling or the wrong choice of tool
- A combination of all or some of the above
Spindle Stalling
This will be caused by a lack of power in your spindle motor. Slow down both spindle and feed. On machines with a pulley system to control RPM, a slower spindle pulley will generate more torque.
Poor Surface Finish
Potential causes include:-
- Poorly clamped workpiece
- Worn, chipped or poor quality tools
- Incorrect SFM for the tool or material
- Lack of lubrication
- A combination of all or some of the above
Tools Breaking
- Poor quality tooling
- Wrong choice of tool for the operation
- Lack of lubrication
- Too aggressive depth of cut
A good practice to follow when a tool breaks is to make sure to change your procedure for that operation. Don’t just put another tool in and try again, it will break again.
Suggested SFM for different materials
This is a difficult question to answer for a hobby cnc machine. They all have different qualities and an ideal SFM on one machine may be a lot different on another.
A typical SFM for aluminum on an industrial machine can be as fast as 1200.
This would be way too much for a small benchtop cnc machine. Hobby machines are too limited in their spindle speeds and movement.
Use what I have suggested and work with an SFM that is within your machines capabilities.
Steel
As previously suggested, start at around 250 SFM or maybe lower and test, working up, or down, until you find what works for your machine. You may have to go slower and RPM may restrict how low you can go. If so, use a smaller diameter tool to stay within your machines RPM range.
Aluminum
I would start at 500 SFM and work up, your machines RPM or feedrate may dictate how far you can go.
I want to make a point of mentioning that not all metals are made equally.
I would strongly suggest not buying steel or aluminum from a ‘big box store’.
The metal they sell can be close to unmachinable. The aluminum can be really soft and gummy, you could struggle to get good results which can be confusing and fustrating when you are trying to learn how to machine.
Plastics
This is a tricky one because there are probably hundreds of different plastics with different properties.
You will have to test yourself, but be aware not to have too high an RPM with a low feed per tooth, the plastic can heat up and melt.
There are endmills specifically designed for acrylics, some being single flute. This will give you more control with your feedrate, you will be able to run a slower feed reducing the risk of overheating the plastic.
Wood
There are a large variations of hardness in wood, but luckily it is very forgiving to machine, just pick a speed and go for it.
HSS (high speed steel) endmills are perfect for wood and they cost less than carbide.
Just remember to always try and get good quality tooling, it can prevent a lot of frustration and head scratching.
One note to keep in mind is you don’t have to go faster just because a material is softer. Start slow and if it works for you, just stick with it.
Feed and speed calculators
There are machinists calculators available which are helpful to have on hand in your workshop.
They have functions to call up the SFM for the most common materials. It will take the guesswork out of your calculations for many areas of machining.
But you have to remember that they will only be suggested starting values and you will also have to compensate for using a smaller, less powerful machine.
There are some available on Amazon, such as the calculated industries machining calculator.
[amazon box=”B00UVY3RDM” price=”hide”]
Loupe
I highly recommend getting a Loupe, they are really cheap and you will be surprised how much clearer you can see the condition of your tooling. Especially useful when using the smaller tooling that a hobby mill will use. This jewelry loupe on Amazon looks perfect for this purpose.
[amazon box=”B072R1Q346″ price=”hide”]
Final Thoughts
Although it is not possible to give a definitive answer to what feed and speed you should use for any milling or turning operation, using the information in this article should help establish a baseline for your machine.
Once I discovered the ‘sweet spots’ for my Taig mill I was able to produce repeatable results that prolonged the life of my endmills and reduced potential ‘wear and tear’ on my machine.


