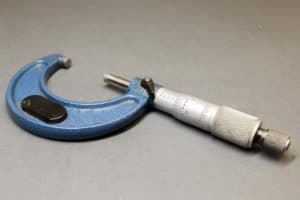
A Micrometer is an accurate measuring instrument that is mainly used by machinists. They are designed to measure distances to an accuracy of .0001” or .0025mm.
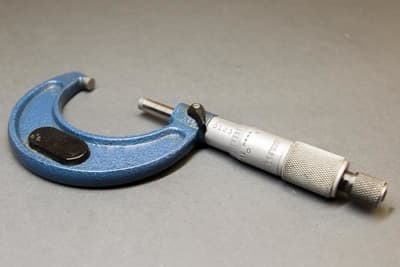
This accuracy is achieved using a precision ground thread with 40 threads per inch on a rotating barrel. The barrel has a scale engraved on it enabling the thread rotations to be read as a unit of measurement.
Types of Micrometer
There are many types of micrometer available, but the most common types include:-
- Outside Micrometer
- Depth Micrometer
- Inside Micrometer
- Bore Micrometer
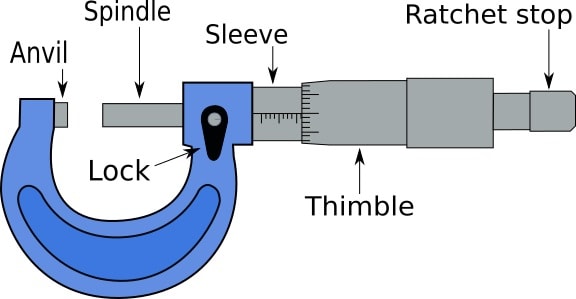
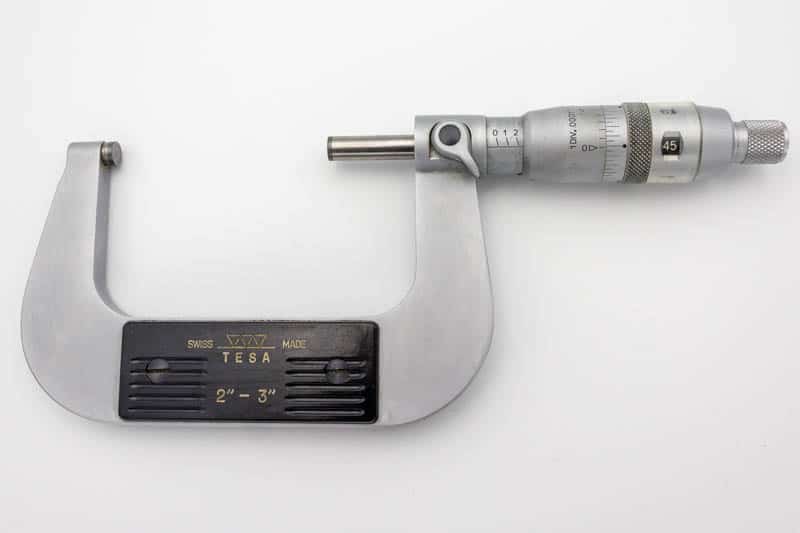
Outside micrometer
This is the most common type of micrometer and as such it is usually simply referred to as a ‘micrometer’ or ‘mic’ (pronounced ‘mike’).
Depth Micrometer
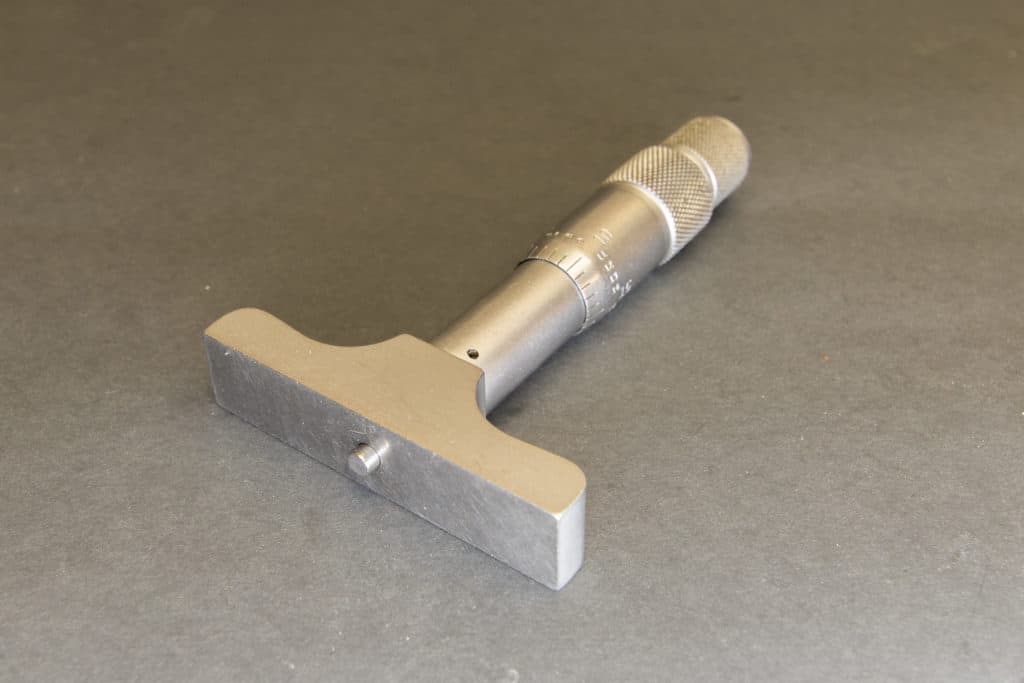
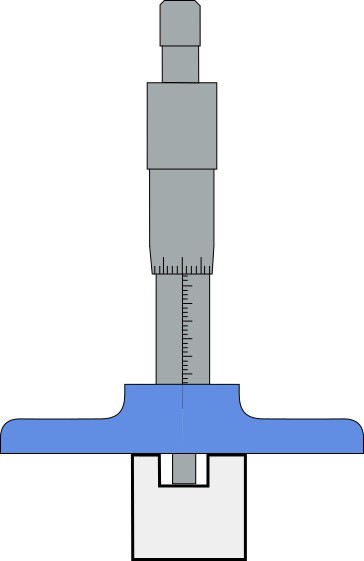
As the name implies, this variant of the micrometer measures depths. It uses different sizes of rod that extends below a flat base to reach down a hole or a step etc.
Inside Micrometer
There are a few different styles of inside micrometer. They are designed to measure internal distances, such as holes or ‘pockets’.
One style looks like an outside micrometer but has smaller ‘internal’ anvils.
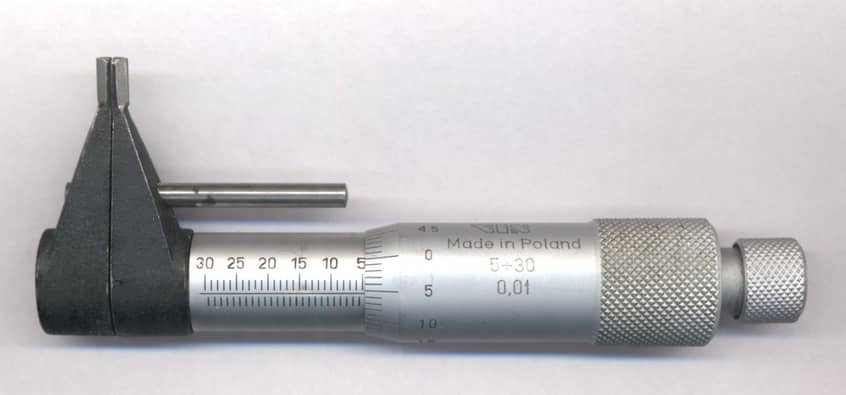
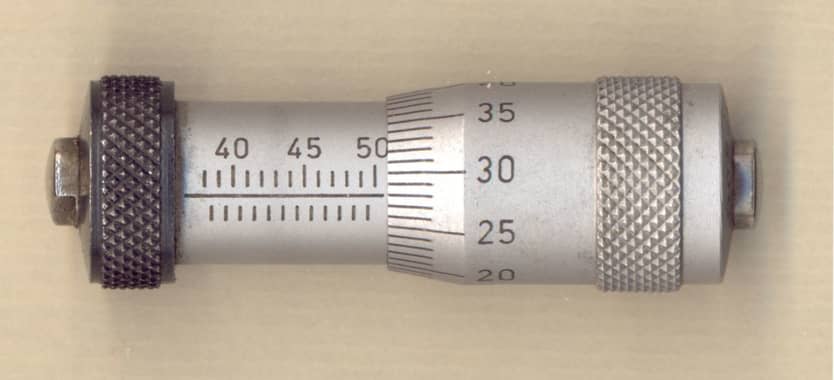
Another style of inside micrometer consists of just the barrel with extendable rods on both ends. This type of internal micrometer is mainly used for larger diameter hole measuring.
Bore Micrometer
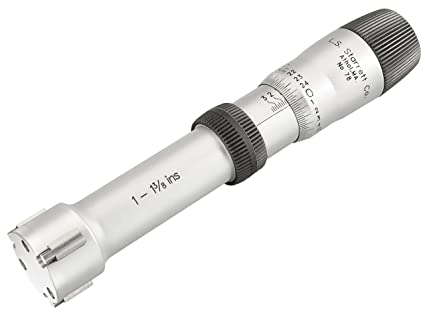
This style of micrometer is for measuring bores only. They are easier to use correctly than a barrel type inside micrometer and by design can measure smaller diameters also.
Digital Micrometers
Many of the micrometers previously mentioned are also available as digital versions.
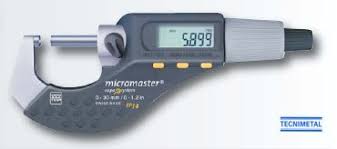
Digital micrometers have several advantages over ‘traditional’ mechanical micrometers.
The main advantage they have is the ability to read both metric and imperial measurements.
They also have a higher resolution readout than what is available with a mechanical micrometer.
But you have to consider that the accuracy of a micrometer is very dependent on build quality.
Just because a digital version has a higher resolution readout doesn’t mean it is more accurate than a traditional mechanical micrometer.
Are Mechanical Micrometers still worth owning?
The two main benefits of a standard mechanical micrometer are its cost and its reliability.
They cost less than their digital cousins and just by design there are no delicate electrical components that can fail or get damaged.
They can last a long time regardless of build quality.
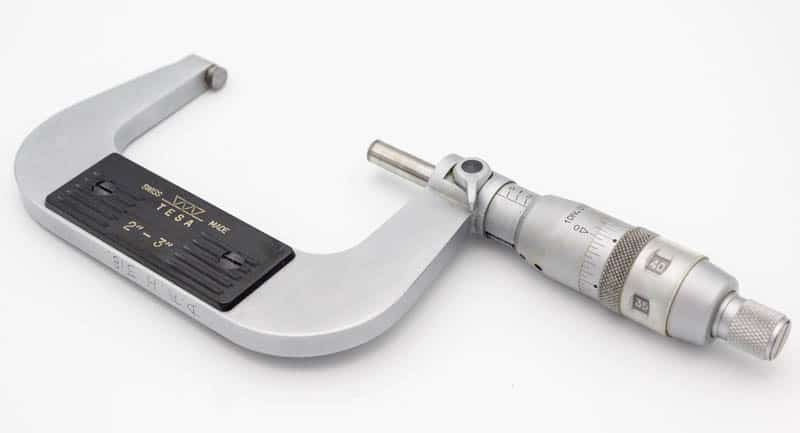
If you buy a mechanical micrometer with a vernier scale on the sleeve you can accurately measure to .0001”.
This accuracy is good enough for anything you are likely to make in a home workshop.
Even without a vernier scale it is possible to read them to within a few ‘tenths’ of thousandths of an inch.
Having to decide between metric or imperial isn’t a deal breaker, you can easily use a calculator to convert the units if needed.
What Size Of Micrometer?
Micrometers typically only have a 1” measuring range so you will have to consider which range of sizes you are likely to need, you may have to buy more than one. They are generally available in sets of 3, which would be an ideal option.
Making parts on smaller hobby cnc mills and lathes don’t often require large measuring instruments.
What Features Make A Good Micrometer?
- Ratchet stop
Most micrometers are equipped with a ratchet stop or friction stop on the rear end of the spindle. This feature prevents you from over tightening and gives you consistent readings.
- Vernier Scale
Having a vernier scale on the thimble enables accurate reading of tenths of a thousand of an inch, instead of having to ‘eyeball’ the tenths.
- Carbide Tips
Carbide tips on the anvil and the spindle end is an advantage, this will reduce the wear over time and prolong the useful life of the tool.
Should You Use An Expensive Micrometer?
Two of the most reputable manufacturers for measuring equipment are Mitutoyo and Starrett.
They produce micrometers that are considered benchmark products to which all other companies are compared.
Buy a micrometer from one of these companies and you are guaranteed a high quality product.
But it isn’t always necessary to buy from the best, most reputable manufacturers.
There are some good micrometers available from less well known manufacturers that are less costly.
For some products such as Digital Calipers or Digital Micrometers I would recommend buying from the most reputable companies.
The digital aspect of these being high failure points with cheaper products.
What To Watch For With A Budget Micrometer
If you have the budget for buying a Mitutoyo or Starrett micrometer you are guaranteed to get an excellent product that will be accurate and reliable for many years.
If you don’t have the cash there are some cheaper options available, but with it the possibility that you will get a lemon.
There are some simple ways to check if your Micrometer is working well.
- Check it for accuracy and calibration
- Check for a parallel anvil and spindle
- Check for smooth operation
- Calibrate for zero
How To Check A Micrometers Accuracy
Micrometer standards are used to check accuracy and calibration.
‘Standards’ are metal rods that are accurately ground to length with each end being parallel.
They can be used to check a micrometers accuracy and calibration at its two extremes of travel. For example a 1”- 2” micrometer can be checked with 1” and 2” standards.
How To Check For A Parallel Anvil And Spindle
When a micrometer is tightened against the standard using the ratchet stop the standard should feel tight yet still be able to slide out smoothly in any direction. If it doesn’t then there is a defect with the micrometer.
This problem can be a symptom of a ‘dropped’ micrometer, basically it has suffered an impact which has distorted the frame.
The anvil and spindle are no longer parallel to each other.
Poor build quality with a budget priced product may also cause this problem.
How To Improve A ‘Sticky’ Spindle
A new micrometer should feel very smooth and free when rotating the spindle.
Some budget Micrometers can feel tight and ‘gritty’ when rotating the spindle.
If this is the situation you will need to disassemble, degrease and lightly oil the thread in the spindle.
Calibrate For A Zero Reading
Your micrometer should come with a small wrench, this is used to adjust the zero position of the sleeve to match the thimble.
Use the ratchet to tighten the spindle against a standard then lock the spindle.
There is a tiny hole at the rear of the sleeve, this is to engage the wrench to twist the sleeve to line up the zero position.
The sleeve should be a tight friction fit but should move with the wrench. Once adjusted, your micrometer should now read accurately at both extremes of travel.
Storage Temperature
An important point to note when storing and using a micrometer is that temperature changes can affect the calibration.
The typical temperature to calibrate and use a micrometer should be 20 deg C.
In fact, some are made with plastic insulation plates on the sides of the frame to prevent the heat from your hands distorting the reading.
This is only usually a factor in an industrial environment when the micrometer is being used constantly throughout a full working day.
